
Learn how to optimize lighting for CCTV by measuring vertical lux correctly. Ensure evidence-grade clarity with expert tips and guidelines.
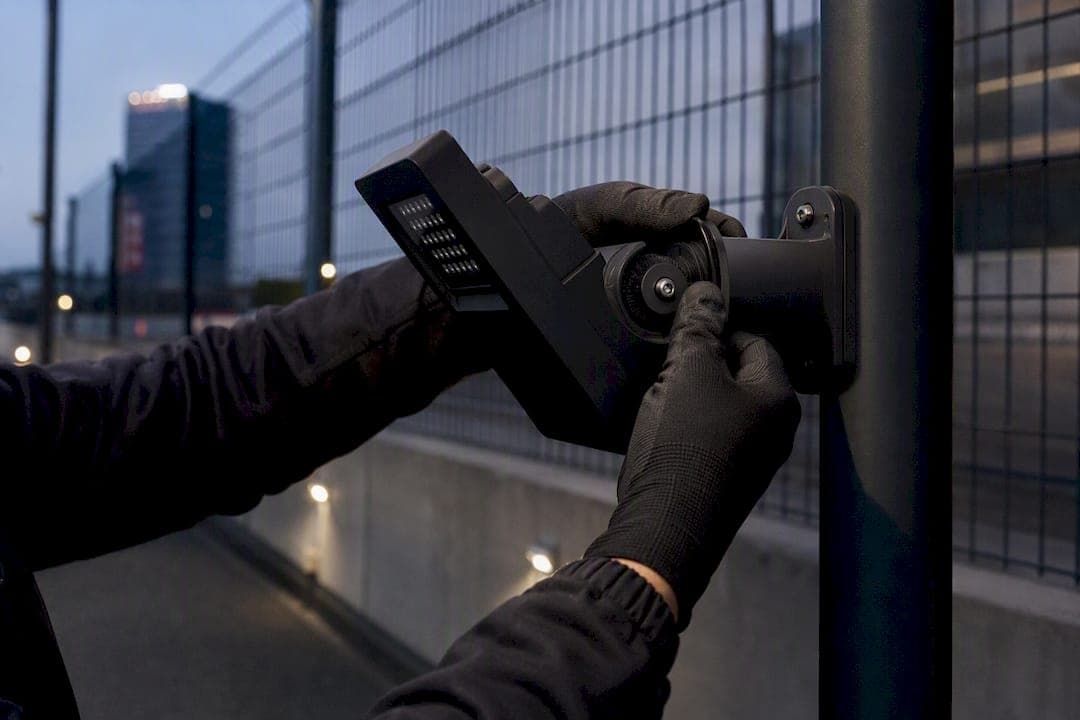
Lighting for CCTV: A Vertical-Lux Specification Guide
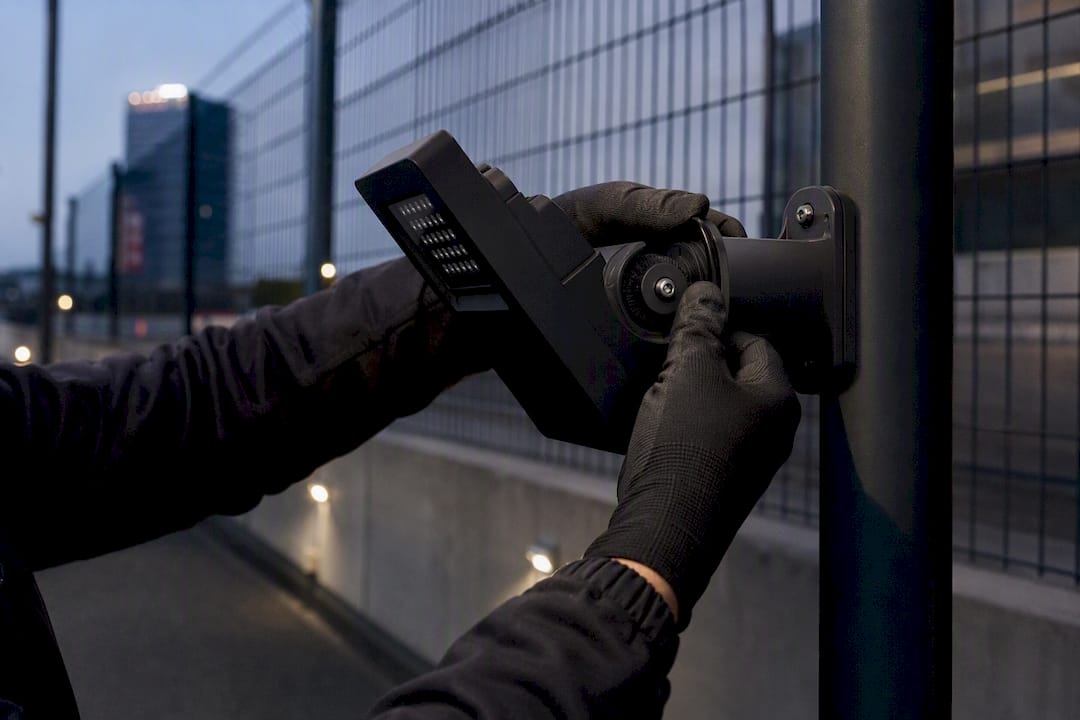
The single most important decision in any CCTV lighting design is measuring vertical lux at the subject, not chasing fixture lumen ratings. A very high-lumen floodlight aimed poorly delivers less usable light on a face than a lower-lumen fixture aimed correctly. Get the geometry right first.
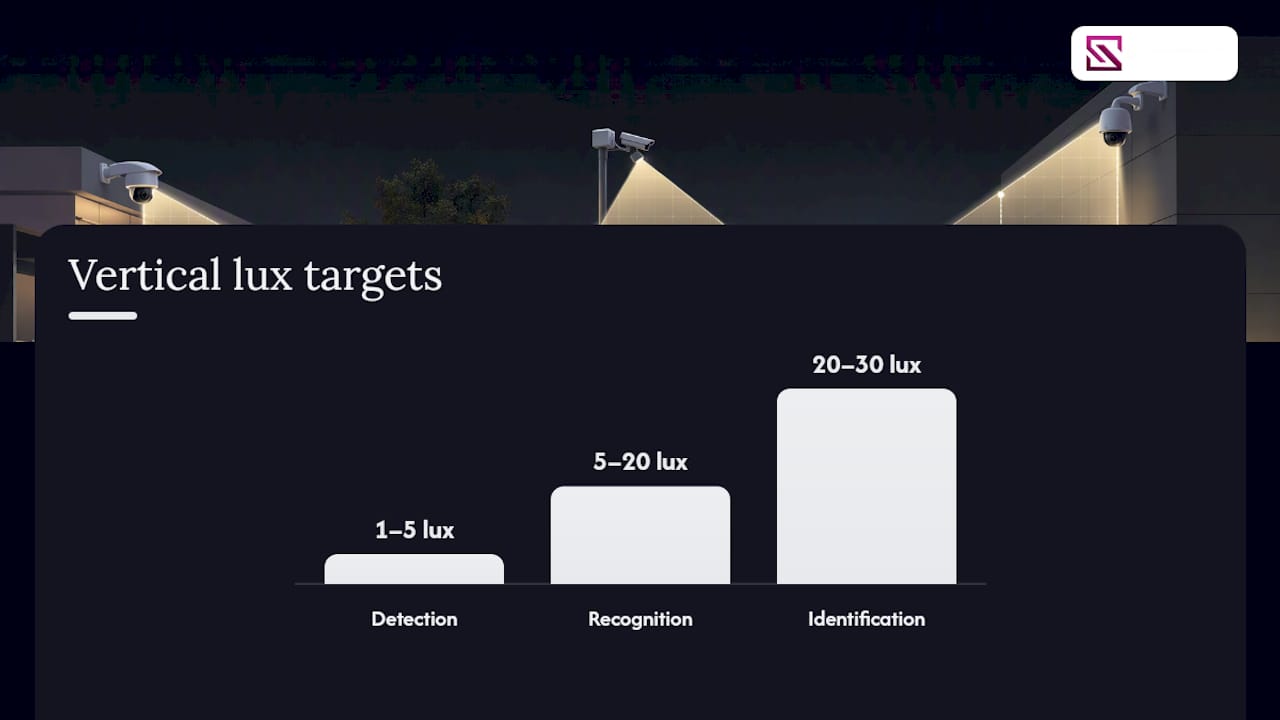
Here are the vertical lux bands that separate a wasted installation from an evidence-grade one:
- Detection (something is there): 1–5 lux vertical
- Recognition (a familiar person/vehicle): 5–20 lux vertical
- Identification (unfamiliar person, court-ready evidence): 20–30 lux vertical, measured at roughly 1.6 meters face height
Pro Tip: Before you spec a single fixture, walk the site with a lux meter at chest and eye height, not at ground level. Ground-level readings almost always overstate what the camera sensor actually sees on a face.
Your baseline equipment checklist: flicker-free LED drivers rated for your local mains frequency, CRI of 80 or higher, CCT between 4000K and 5000K, and hybrid illumination (infrared plus white light) anywhere the site goes to true darkness. Skip any of these four and you're troubleshooting blind footage later.
Key Takeaways
Consistent, well-aimed vertical lux at the subject, delivered through flicker-free LED fixtures with correct CCT and CRI, determines whether CCTV footage is usable far more than any fixture's lumen rating does.
| Point | Details |
|---|---|
| Measure vertical lux, not lumens | Take readings at roughly 1.6 meters face height and match them to detection, recognition, or identification bands. |
| Respect the inverse-square law | Doubling throw distance cuts illuminance to a quarter, so recalculate fixture output for every mounting distance. |
| Choose CCT and CRI deliberately | Target 4000K to 5000K and CRI 80 or higher to preserve color for analytics and identification. |
| Mount lights to avoid glare | Position fixtures behind or beside the camera, never facing it, and shield against wet-surface reflections. |
| Commission with live feeds | Verify lux, check for flicker and banding, and file baseline footage before calling a project complete. |
| Engage BeyondSensor for complex sites | BeyondSensor supports integrators with power budgeting tools and regional site survey expertise for multi-zone lighting and camera projects. |
Table of Contents
- Lighting for CCTV Fundamentals: Lux, Lumens, and the Physics That Matter
- When to Use IR, White Light, or Hybrid Illumination
- Beam Control, Mounting, and Avoiding Backlight
- Setting Lux Targets and Sizing a Fixture
- Installer Checklist: Drivers, Power, and Mounting Height
- Commissioning: Verifying Lighting Actually Works on Camera
- Fixing Common Lighting Failures After Installation
- Where BeyondSensor Fits in a Lighting and CCTV Project
- Weatherproofing Outdoor Lighting for Rain, Fog, and Snow
- Power Budgeting and Energy Efficiency for CCTV Lighting
- Legal and Privacy Rules for Exterior CCTV Lighting
- Tying Lighting Into Motion Sensors and Alarm Systems
- What Actually Separates a Working Lighting Design From a Failed One
- Get Expert Support for Your CCTV Lighting Project
- Sources
Lighting for CCTV Fundamentals: Lux, Lumens, and the Physics That Matter
Lumens measure total light output from a fixture. Lux measures light density falling on a surface. A camera doesn't see lumens. It sees lux on the target, and that distinction is where most lighting specs go wrong before installation even starts.
Distance destroys light fast. The inverse-square law says illuminance drops with the square of the distance from the source, so doubling the distance between fixture and subject cuts lux to a quarter, not half. A fixture delivering 40 lux at 10 meters delivers roughly 10 lux at 20 meters, and around 4.4 lux at 30 meters. Run this math before you buy fixtures, not after installation fails a walk test.
- Calculate target distance first. Measure the actual throw distance from planned mount point to the farthest subject position you need identification quality at.
- Work backward from lux to lumens. If you need 25 lux vertical at 15 meters with a 60 degree beam angle, your fixture's rated output has to account for both the distance falloff and the spread of the beam, not just its total lumen figure.
- Check CRI and CCT against your analytics needs. A CRI of 80 or above preserves enough color accuracy for license plate reading and clothing description; anything lower and your video analytics start guessing.
CCT between 4000K and 5000K is the practical sweet spot. Industry guidance from Hyperlite notes that 4000K reduces perceived glare on reflective surfaces while 5000K maximizes scene contrast, so the choice often comes down to whether your site has wet pavement, glass, or vehicle glass to contend with.
One sensor tradeoff worth flagging early: color imaging under low light asks a lot more of a CMOS or CCD sensor than monochrome IR imaging does. A sensor pushed into high gain to compensate for insufficient visible light produces noisy, grainy footage even before you factor in motion blur. That's the practical argument for hybrid lighting, covered next.
When to Use IR, White Light, or Hybrid Illumination
Infrared lighting comes in three common wavelengths: 780nm, 850nm, and 940nm. Lower wavelengths (780nm) produce a faint visible red glow and slightly better range; 940nm is covert but sacrifices some distance and detail. All three strip color from the image entirely, which matters if your operation depends on describing a suspect's clothing or a vehicle's paint.
White light solves that problem directly. Raytec's guide to CCTV lighting positions white and infrared illumination as the two essential supplemental lighting categories because each solves a different problem. White light preserves full color, supports continuous recording without visible mode switching, and adds a deterrent effect that IR simply doesn't deliver. Loitering behavior drops noticeably in well-lit lots compared to IR-only coverage, even though IR-only sites often have equal or better raw detection range.
Hybrid, or smart-hybrid, illumination automatically switches between IR and white light based on ambient conditions or a triggered detection event, as explained in detail on CCTV product database. Hikvision's Smart Hybrid Light approach illustrates the logic: stay in IR mode for stealth during quiet hours, then switch to white light when motion is confirmed, capturing color detail exactly when it matters most.
Match the mode to the use case:
- Perimeter fencing with low foot traffic: IR-only is usually sufficient for detection and recognition.
- Choke points, entrances, loading docks: hybrid mode captures color identification without running white light all night.
- Parking areas and areas needing active deterrence: white light, sometimes supplemented with IR for the deepest shadows.
Built-in camera IR is acceptable for detection-grade coverage at typical mounting heights under 4 meters. Beyond that range, or wherever identification-grade footage is the goal, external lighting almost always outperforms integral IR arrays.
Beam Control, Mounting, and Avoiding Backlight
Fixture selection based on lumen rating alone is the most common design failure in CCTV lighting, and it has a name in the industry: the lumens trap. Two fixtures rated at identical lumen output can deliver wildly different lux-on-target results depending on beam angle and distribution pattern. A narrow 15 degree beam concentrates light at distance; a wide 120 degree beam spreads the same lumens thin across a broad area. Match the beam angle to the geometry of your scene, not the spec sheet's headline number.
- Measure vertical illumination at subject height. Take readings at approximately 1.6 meters, the standard reference height for facial recognition, across the full width of the monitored zone.
- Target evenness, not just peak lux. Aim for a contrast ratio no worse than 3:1 between the brightest and dimmest points a subject might occupy. A hot spot next to a dark pocket defeats automatic exposure just as badly as insufficient light overall.
- Mount lights behind or beside the camera, never in front of it. A fixture aimed toward the lens creates lens flare and glare that can wash out an entire frame; a fixture positioned to illuminate the scene from the camera's side avoids this while still lighting the subject.
- Control silhouette risk at entrances. Backlight from a doorway, streetlamp, or setting sun behind a subject turns faces into black shapes. Add a fill light angled from the camera's position to balance the exposure.
Pro Tip: Rain-slicked pavement and glass storefronts reflect fixtures directly back into the lens. A beam-shaper or louvered shield cuts that reflected glare without reducing the usable lux on your actual subject.
Setting Lux Targets and Sizing a Fixture
Security goals map to specific vertical lux bands, and treating these as fixed engineering targets, rather than rough guesses, is what separates a spec sheet from a wish list.
- Detection (1–5 lux vertical): enough to confirm a person or vehicle is present in frame. Suitable for wide perimeter coverage where headcount matters more than identity.
- Recognition (5–20 lux vertical): enough for an operator who already knows the individual to confirm identity. Common for staff-only back-of-house areas.
- Identification (20–30 lux vertical): the threshold most facial recognition and evidentiary use cases require, needed at entrances, ATMs, cash handling points, and any area where footage may end up in a legal proceeding.
Here's a worked example. Suppose your target is 25 lux vertical at a doorway 8 meters from the mounting point, using a fixture with a 60 degree beam angle. Start from a known reference: a fixture rated for 25 lux at 5 meters within its beam will fall to roughly 10 lux at 8 meters under the inverse-square relationship (5/8 squared, applied to the reference lux). To hit 25 lux at 8 meters, you need a fixture with meaningfully higher rated output at that reference distance, or you need to shorten the throw by mounting closer. Hyperlite's guidance on lumens versus lux performance recommends working this calculation for every mounting position rather than applying one fixture spec across a whole site.
When you write the spec sheet, include CCT (4000K to 5000K), CRI (80 minimum, higher for identification zones), and a flicker-driver requirement explicitly. Don't leave flicker performance to the manufacturer's discretion. Consistent, flicker-free LED lighting is what allows cameras to retain accurate color information for positive identification, and a driver that isn't flicker-rated for your site's mains frequency will undermine an otherwise correct lux calculation.
One more line item belongs on every spec: emergency lighting isn't the same as maintained security lighting. Emergency egress fixtures are built to get people out safely, not to maintain camera-usable illumination during a mains outage. Specify a secondary maintained source, an uninterruptible supply for critical fixtures, or camera-integral illumination as a fallback, so a power blip doesn't create a gap in your evidence trail.
Installer Checklist: Drivers, Power, and Mounting Height
Field failures in CCTV lighting rarely trace back to bad fixtures. They trace back to skipped checks during installation. Run through this list before signing off any job:
- Confirm the LED driver is rated flicker-free and tested against your local mains frequency (50 Hz in most regions outside North America); an untested driver can produce banding invisible to the eye but obvious in recorded footage.
- Budget PoE power conservatively when lighting shares a switch or injector with cameras. BeyondSensor's PoE Power Budget Calculator helps model combined camera and lighting draw before you're troubleshooting brownouts in the field.
- Mount fixtures 3 to 5 meters high at choke points and doorways to balance throw distance against glare risk; parking areas typically need 5 to 8 meters depending on pole spacing and beam angle.
- Aim fixtures to overlap slightly at the edges of adjoining coverage zones so no dark seam forms between two lighting circuits.
- Confirm maintained/emergency lighting circuits are on a separate, documented breaker so a lighting fault doesn't take down an entire zone's coverage.
- Hand over documentation that records fixture model, mounting height, aim angle, and measured lux at commissioning, not just an as-built drawing.
Skipping the driver check is the single most expensive mistake on this list. A flicker issue that passes a daytime walk-through often only shows up on recorded 4K footage weeks later, and by then the scaffolding is gone.
Commissioning: Verifying Lighting Actually Works on Camera
A lighting design that looks correct on paper still has to prove itself on the live feed. Commissioning is where you catch the gap between calculated lux and what the sensor actually renders.
- Pull up the live camera feed on-site, not a recorded clip, and adjust exposure, wide dynamic range (WDR), and illumination thresholds while watching real-time response to movement and changing light.
- Measure vertical lux at every representative subject position the camera is expected to cover, logging each reading against the detection, recognition, or identification band it needs to hit.
- Test for flicker and banding by recording a short clip and reviewing it frame by frame; also check for reflective glare off wet or glass surfaces and silhouette risk at both midday sun angles and full darkness.
- Produce the handover package: a lux verification report, annotated site images marking fixture positions and measured readings, and baseline video clips that establish what "normal" looks like for future comparison.
| Commissioning Step | Pass Criteria |
|---|---|
| Vertical lux at subject | Meets detection (1–5), recognition (5–20), or identification (20–30) band per zone |
| Flicker/banding check | No visible banding in recorded 4K/HD clip under local mains frequency |
| Glare and reflection | No lens flare or washed-out zones on wet or reflective surfaces |
| Baseline footage delivered | Annotated stills and clips filed with commissioning report |
UK government CCTV operating guidance treats this kind of documented verification as part of maintaining evidentiary value, and it's good practice regardless of jurisdiction. A folder with a lux report and dated baseline clips is worth more during an incident review than any spec sheet.
Fixing Common Lighting Failures After Installation
Most post-installation complaints trace back to one of four fixable problems, not a full redesign.
- "Bright near the camera, dark at the target" usually means the beam angle is too wide or the fixture is aimed too shallow. Re-aim first; if that doesn't close the gap, swap in a narrower beam fixture rated for the actual throw distance.
- Flicker or horizontal banding on recorded footage almost always traces to a non-flicker-rated driver or a mismatch with local mains frequency. Replace the driver rather than the fixture.
- Silhouetted subjects at doorways need a fill light positioned to counter the backlight source, or, where that's not possible, relocating the camera to change its angle relative to the light source behind the subject.
- Persistent noisy footage despite adequate lux may point to an undersized sensor rather than a lighting gap; a multisensor camera or upgraded imaging chip can outperform adding more fixtures when the real bottleneck is sensor sensitivity, not photons on target.
Where BeyondSensor Fits in a Lighting and CCTV Project
Getting vertical lux right across a multi-building site or a mixed indoor/outdoor perimeter is rarely a one-person job, and system integrators typically bring in specialized engineering support once a project moves past a handful of cameras.
BeyondSensor works with integrators on exactly this kind of scoping: site surveys that map lux requirements zone by zone, power planning through tools like the PoE Power Budget Calculator, and regional deployment support across Southeast Asia. When you're evaluating a vendor for a lighting-plus-camera project, request these deliverables regardless of who does the work:
- A written spec sheet covering CCT, CRI, beam angle, and flicker-driver rating for every fixture
- A lux verification report measured at actual subject height, not estimated from fixture datasheets
- Annotated baseline footage establishing what normal coverage looks like at commissioning
- A documented commissioning report tying each zone back to its detection, recognition, or identification requirement
Engage a specialist earlier rather than later when a project involves multiple lighting circuits sharing PoE infrastructure, when analytics tuning depends on consistent color rendering, or when a site's fencing and terrain make beam geometry genuinely complicated. A security risk assessment checklist is a reasonable starting point for identifying which zones deserve that level of attention first.
Weatherproofing Outdoor Lighting for Rain, Fog, and Snow
Rain scatters light before it ever reaches the sensor, and fog does it worse. Both conditions benefit from white light over IR, because IR's narrow wavelength scatters more visibly in airborne moisture, creating a washed-out "IR fog bloom" that can blind a camera more thoroughly than the weather itself.
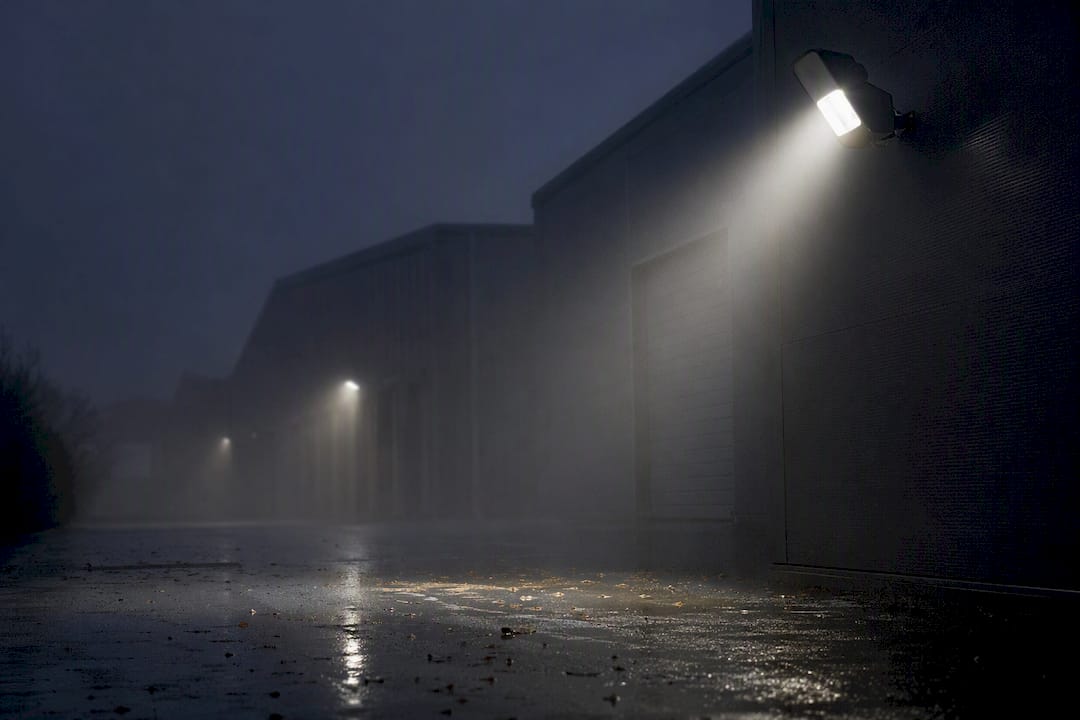
Mount fixtures with an IP66 or higher rating for any exposed outdoor position, and angle them slightly downward rather than perfectly horizontal. A horizontal beam through falling rain or snow illuminates every droplet and flake directly in front of the lens, creating a wall of bright specks that overwhelms the sensor's exposure algorithm. A downward angle lights the ground and subject while letting most of the falling precipitation pass through darker space above the beam.
Snow adds a reflectivity problem on top of the precipitation issue. Fresh snow reflects a large share of incident light back upward, which can overexpose the lower portion of a frame while leaving faces underexposed. Reducing fixture output slightly and shifting CCT toward 4000K, per the glare-reduction guidance from Hyperlite, tends to control this better than trying to compensate through camera exposure settings alone.
Fog calls for patience over power. Adding more lumens into thick fog often makes footage worse, not better, because you're just lighting up more particulate matter. A camera with strong WDR performance and a moderate, well-shielded light source usually outperforms a brute-force lighting upgrade in persistent fog conditions.
Power Budgeting and Energy Efficiency for CCTV Lighting
Every added fixture is a line item on your power budget, and on PoE-fed systems, that budget has a hard ceiling. A PoE++ switch port typically supplies up to 90 watts, but once you've accounted for the camera's own draw, heater elements in cold-climate housings, and any auxiliary sensors sharing the run, the remaining headroom for a lighting fixture can be thinner than the datasheet suggests.
Model total draw before ordering hardware. BeyondSensor's PoE Power Budget Calculator exists for exactly this calculation, letting integrators sum camera, lighting, and auxiliary loads against actual switch capacity before a single cable gets pulled.
LED fixtures already deliver a substantial efficiency gain over legacy halogen or metal-halide security lighting, drawing a fraction of the wattage for comparable or better lux output. The bigger efficiency lever for most sites is scheduling and triggering: running white light continuously all night costs meaningfully more in energy and fixture lifespan than running IR by default and switching to white light only on a detection event through smart-hybrid control. That same triggered approach also reduces light pollution complaints from neighbors or adjacent tenants, which matters more in mixed-use and residential-adjacent sites than most specs account for upfront.
Legal and Privacy Rules for Exterior CCTV Lighting
Bright exterior lighting aimed at a public street, a neighboring property, or a residential window can trigger complaints independent of anything related to the camera itself. Light trespass and nuisance glare are regulated separately from surveillance and privacy law in many jurisdictions, and a fixture that spills unshielded light across a property line is a liability even when the camera footage itself is entirely compliant.
Camera placement and lighting placement both need to respect reasonable expectation of privacy. A hybrid or white-light fixture that illuminates a neighbor's backyard or bedroom window, even incidentally, invites a complaint that has nothing to do with your actual security objective. Shield fixtures, angle them downward, and confirm the lit area matches your camera's actual field of view rather than spilling well beyond it.
Facial recognition and identification-grade footage carry additional weight in most privacy frameworks, since 20 to 30 lux vertical illumination exists specifically to capture identifiable biometric detail. Where local law requires signage, notice, or registration for CCTV capturing identifiable faces, that requirement applies with equal force whether the illumination comes from ambient light or a fixture you installed. Data retention rules tend to travel with this same logic. If your lighting is good enough to produce identification-grade footage, your retention and access policies need to be built for that footage's evidentiary weight, not just its storage cost.
None of this is a substitute for jurisdiction-specific legal review, but it's worth raising with a facility's legal or compliance team before fixtures go in the ground, not after a neighbor complains.
Tying Lighting Into Motion Sensors and Alarm Systems
Lighting doesn't operate in isolation on a well-designed site. Motion sensors triggering a lighting change is one of the most useful integrations available, because it lets a site run in a low-power IR or dimmed state most of the time and step up to full white-light illumination only when something actually moves.
This triggered approach solves two problems simultaneously. It cuts energy use compared to running full illumination continuously, and it improves footage quality precisely when it matters, since the camera captures full-color, high-lux footage exactly at the moment an event begins rather than relying on whatever ambient IR was already active.
Alarm integration adds a second layer. A triggered alarm event, whether from a door contact, a glass-break sensor, or a video analytics rule, can force lighting to full output and switch the camera to its highest-quality recording profile simultaneously. This matters most at the exact moments a system is most likely to be tested: an actual intrusion attempt, not a routine patrol pass.
The practical requirement is a controller or camera platform capable of triggering lighting output changes from a sensor input, not just from its own internal motion detection. Sites already running broader sensor networks for facility monitoring tend to have this integration path available already; sites running lighting and cameras as fully separate systems usually need a control relay or a compatible platform added specifically to close that gap. Check for this compatibility before finalizing fixture selection, since not every lighting controller accepts an external trigger input.
What Actually Separates a Working Lighting Design From a Failed One
Most lighting failures on CCTV projects aren't equipment failures. They're measurement failures. Someone specified a fixture by its lumen rating, walked the site during a bright afternoon, and signed off without ever pointing a lux meter at a face during the hours the camera actually needs to work.
The conventional advice, buy a bright enough light, treats illumination like a volume knob. It isn't. Beam angle, mounting height, and distance all bend the relationship between fixture output and usable footage, which is exactly why two sites with identical fixture counts can produce wildly different evidence quality. The inverse-square law isn't academic trivia here. It's the reason a fixture that looked perfect in a supplier's demo photo underperforms badly once it's twenty meters from the actual target.
If there's one priority worth acting on before anything else, it's this: commission with a lux meter and a live camera feed, not a walk-through and a gut check. Everything else, CCT choice, hybrid switching logic, driver selection, matters, but none of it compensates for skipping the measurement step that tells you whether the design actually works.
— Eumir
Get Expert Support for Your CCTV Lighting Project
Specifying lighting correctly across a multi-camera site takes more than a lux calculator and good intentions. It takes someone who's mapped power budgets, beam geometry, and camera sensor behavior across enough real installations to know where the calculations break down in the field.
BeyondSensor works directly with system integrators who need that kind of support: site surveys that translate vertical lux targets into fixture placement, PoE power modeling that prevents brownouts before installation day, and regional engineering presence across Southeast Asia for projects that need boots on the ground rather than a remote consultation. Where a generic lighting supplier stops at selling fixtures, BeyondSensor scopes the full commissioning path, from spec sheet through baseline footage handover, so an integrator isn't left reconciling mismatched documentation from three different vendors.
If your next project involves more than a handful of cameras, or a site layout complicated enough that beam geometry and power budgets genuinely matter, reach out to BeyondSensor's system integrator team to scope a site survey before you finalize a fixture order.
Sources
- How to: light for CCTV and facial recognition (DW Windsor)
- CCTV operating manual / guidance (UK government)
Recommended
Read More Articles
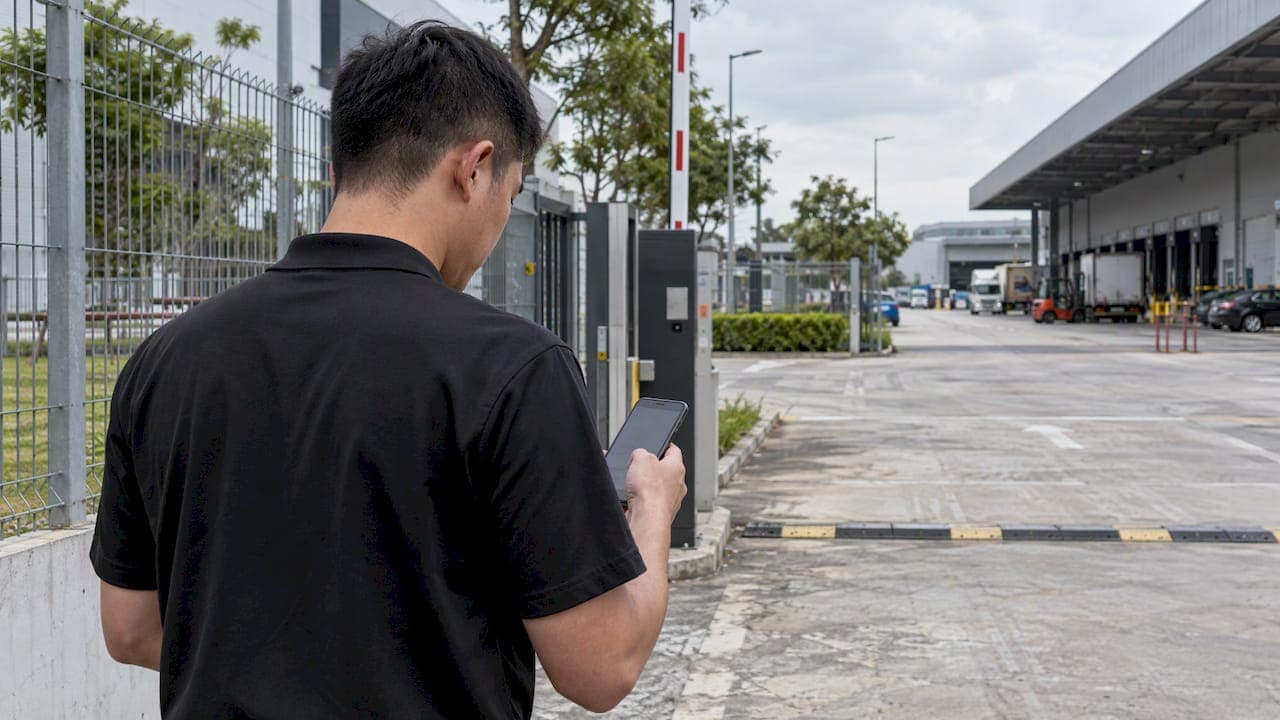
Geofencing Alerts for Site Security: Setup Guide for Singapore
How to design geofencing alerts that flag real security events, cut alert fatigue and stay within PDPA and IPA rules at Singapore sites.
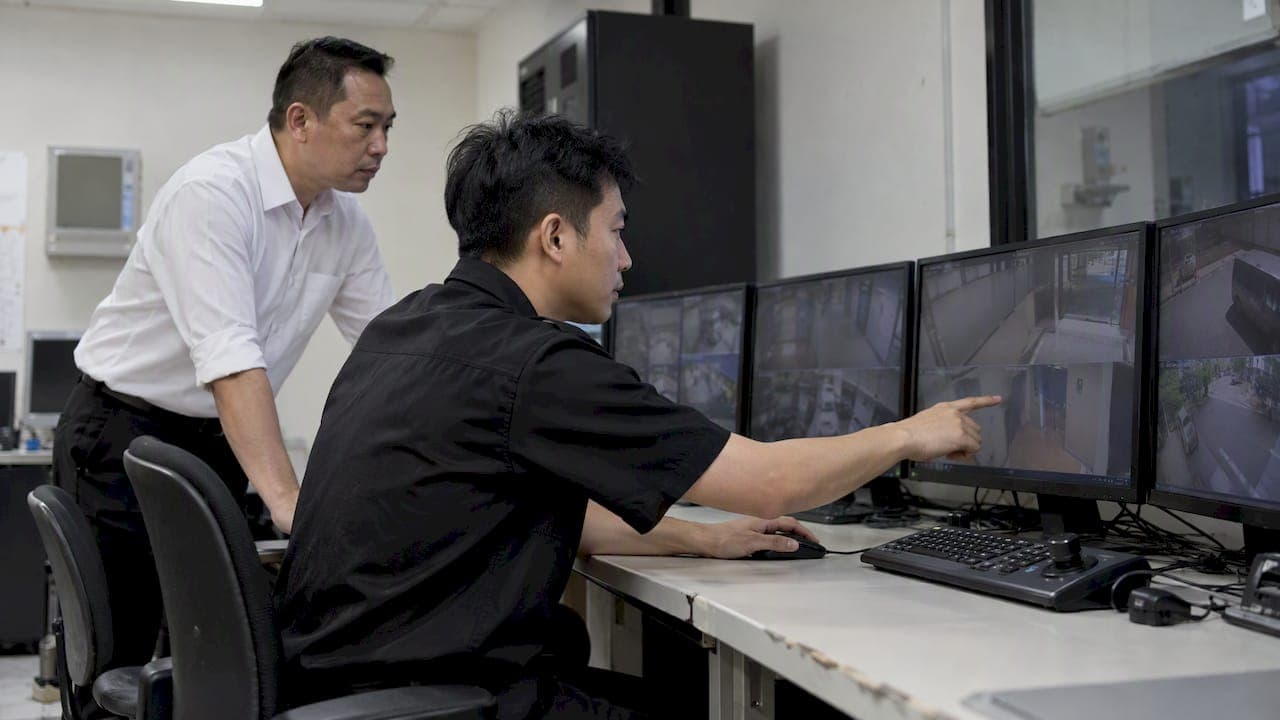
CCTV Operator Training in Singapore: Skills, Courses and Costs
What CCTV operator training involves in Singapore: the PRSF course, fees and subsidies, the 31 December 2026 deadline, and skills for AI-assisted control rooms.
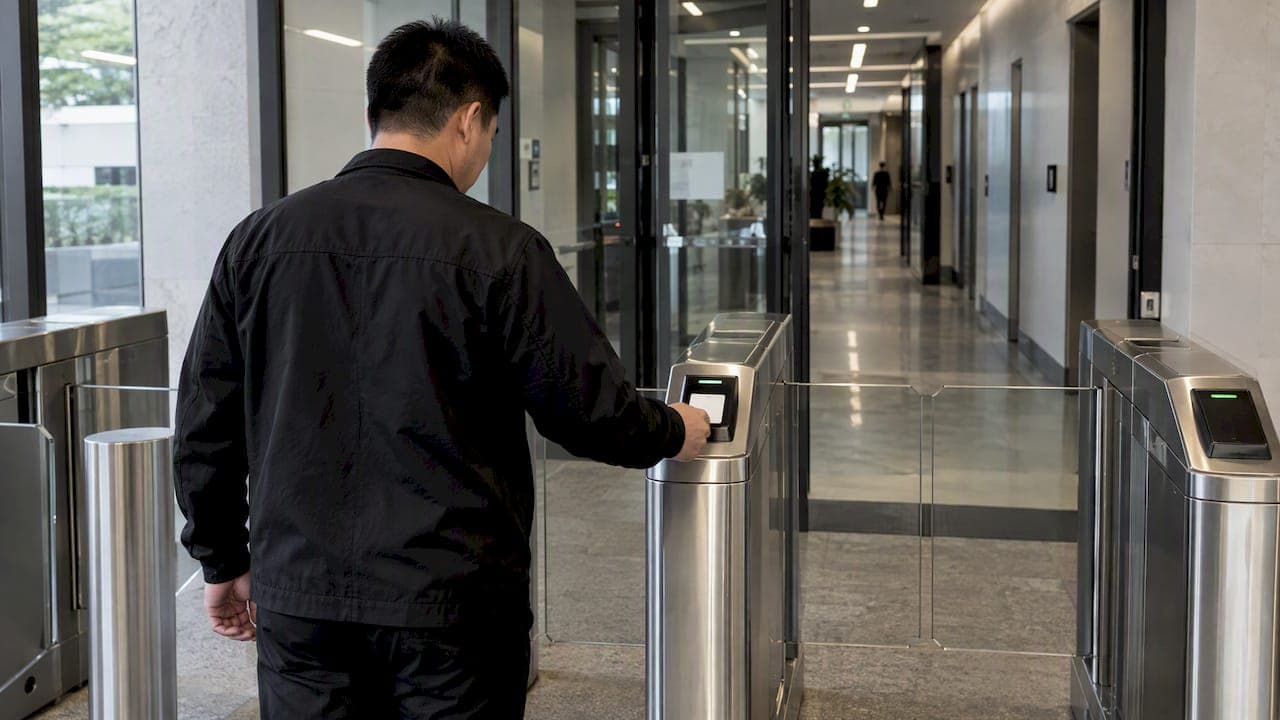
Role-Based Access Control: A Practical Guide for Singapore Security Teams
How role-based access control works, where it breaks (role explosion, stale roles), and how to apply it to both cyber and physical security in Singapore.
Security Site Survey: Facility Teams’ Checklist for Funded Fixes
Assess site risks, turn findings into budgeted action, and use field checklists, reporting templates, and PDPA notes for camera and biometric deployments.
Let's Build YourSecurity Ecosystem.
Whether you're a System Integrator, Solution Provider, or an End-User looking for trusted advisory, our team is ready to help you navigate the BeyondSensor landscape.
Direct Advisory
Connect with our regional experts for tailored solutioning.