
Discover how to calculate camera field of view to enhance your photography. Learn to think in measurable coverage, not just degrees.
Camera Field of View: The Math Behind What Your Lens Sees
Camera field of view is the angular slice of a scene that a lens and sensor capture together, and it's governed by one formula: FOV = 2 · arctan(s / 2f), where s is sensor dimension and f is focal length. The practical takeaway for anyone specifying equipment: stop thinking in degrees and start thinking in feet or meters of coverage at your working distance, using tools like the Field of View calculator on Wikipedia or a dedicated deployment calculator to get there.
TL;DR:
- Calculating scene coverage in feet or meters at the actual mounting distance is essential, as degrees alone provide little practical value.
- Sensor size and crop factor significantly affect the real-world field of view, so always compare 35mm-equivalent focal lengths rather than direct millimeter values.
- Verify calculated FOV and coverage through actual field testing at the deployment site, accounting for focus breathing, sensor crops, and non-rectilinear lenses.
- Proper camera placement requires balancing lens FOV with identification needs, mounting height, and testing to ensure facial recognition capabilities.
- Rely on field measurements and test captures, not just spec sheet numbers, to accurately determine if a lens and FOV meet surveillance or identification requirements.
Table of Contents
- What Is Camera Field of View, and How Do You Calculate It?
- Sensor Size, Crop Factor, and Why the Same Lens Frames Differently
- How to Calculate Scene Coverage at Any Distance
- Where the Standard FOV Model Breaks Down
- Getting Camera Placement Right: Identification Zones and Mounting Height
- Calculators and Tools for Field of View Planning
- What Twenty Site Surveys Taught Me About Trusting the Math
- Sources
What Is Camera Field of View, and How Do You Calculate It?
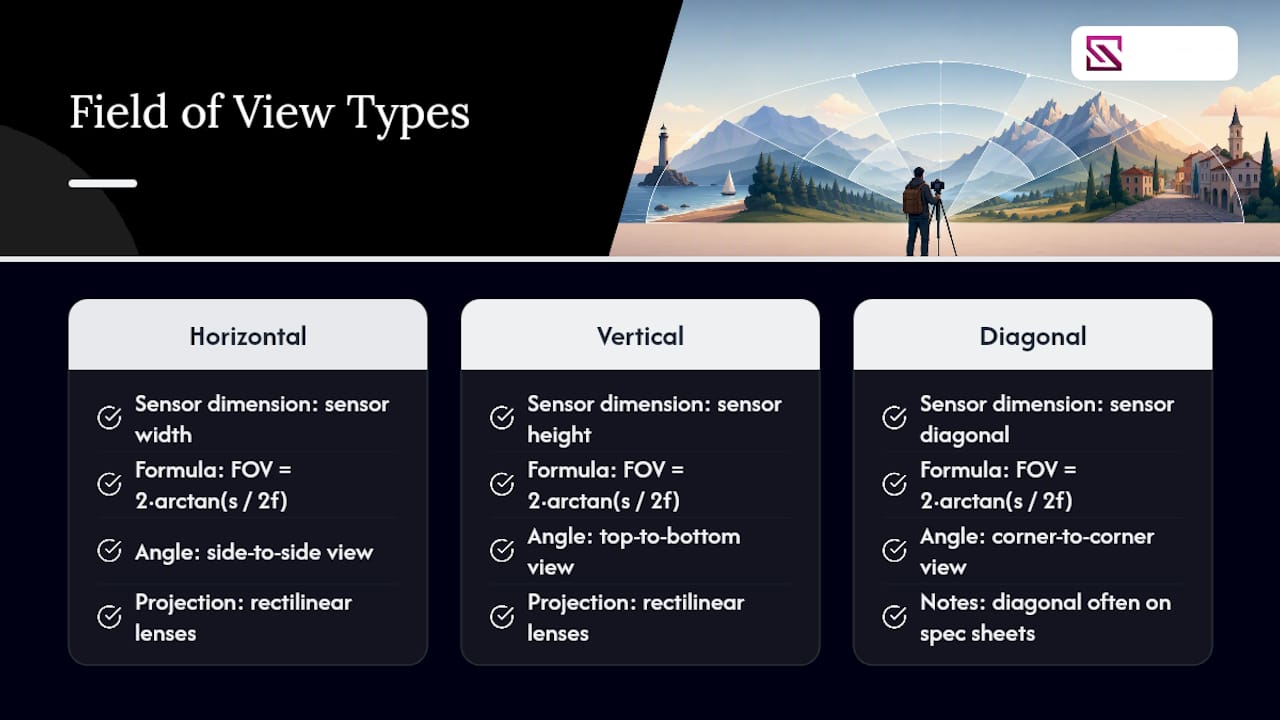
Field of view describes the angular extent of a scene your sensor actually records at a given focus distance. It has three flavors that matter for real work: horizontal FOV (side to side), vertical FOV (top to bottom), and diagonal FOV (corner to corner, and the number most manufacturers print on a spec sheet). All three come from the same underlying relationship.
The canonical formula is FOV = 2 · arctan(s / 2f). Here, s is the sensor dimension you care about (width for horizontal FOV, height for vertical, diagonal measurement for diagonal FOV), and f is the lens focal length, in the same unit as s, typically millimeters. The OpenMV optics documentation frames this more intuitively: take half the sensor dimension (S/2), divide by focal length, and run it through arctan to get the half-angle. Double that half-angle and you have full FOV.
Why arctan and not a simpler ratio? Because a lens projects a flat sensor plane through a converging optical system, and the angle from the lens's optical center to the edge of that sensor traces a right triangle. Small-angle approximations break down as focal length shortens relative to sensor size, which is exactly why wide-angle lenses need the full trigonometric treatment rather than a shortcut.
One caveat worth internalizing early: this formula assumes rectilinear projection, where straight lines in the scene stay straight in the image. Most standard photographic and CCTV lenses qualify. Fisheye and some ultra-wide optics don't, and treating them with this formula will give you numbers that don't match reality.
Sensor Size, Crop Factor, and Why the Same Lens Frames Differently
A 50mm lens does not see the same scene on every camera. Sensor size changes the angle of view even when focal length stays fixed, which is where crop factor enters the conversation. Crop factor is the ratio between a sensor's diagonal and the 35mm full-frame diagonal (43.3mm), and multiplying focal length by that ratio gives you the "35mm-equivalent" focal length photographers use to compare systems.
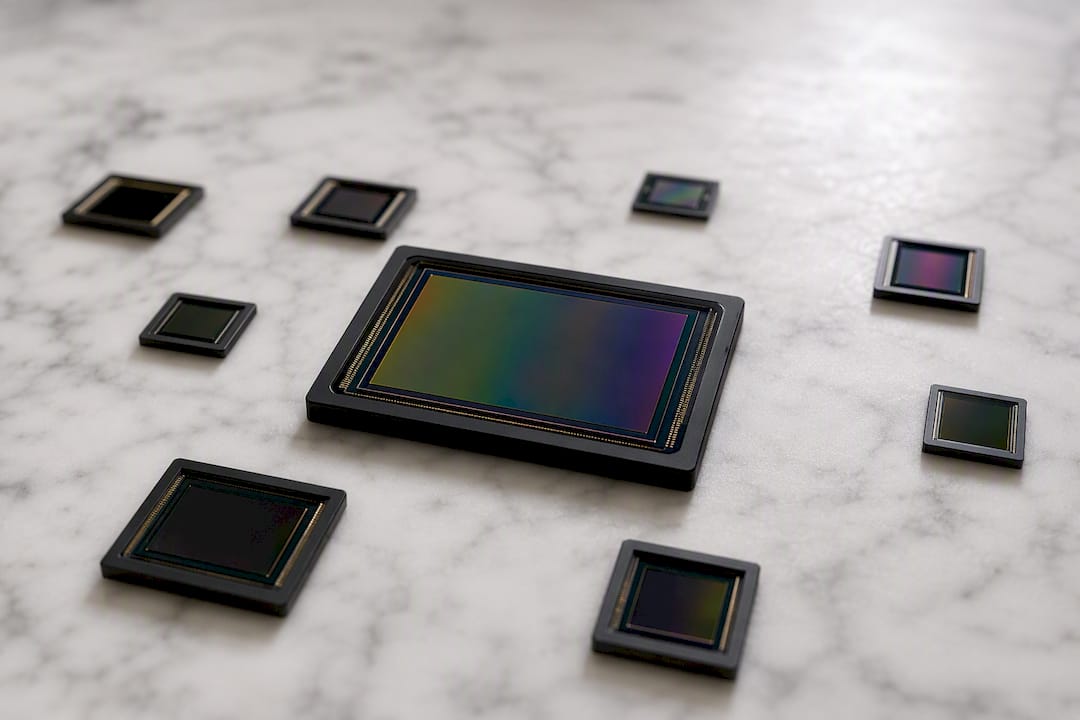
A full-frame sensor paired with a 50mm lens produces roughly a 47-degree diagonal FOV. Mount that same 50mm lens on an APS-C body (crop factor around 1.5) and the effective field of view narrows to what a 75mm lens would produce on full-frame. Drop to Micro Four Thirds (crop factor 2.0) and that 50mm lens now behaves like a 100mm telephoto.
The rule of thumb: smaller sensor, narrower field of view at the same focal length, because the imaging area simply captures a smaller slice of what the lens projects. If you're speccing a surveillance system and comparing quoted lens options across camera models with different sensor formats, never compare focal lengths directly; instead, consider choosing a surveillance camera with monitor to optimize your setup effectively. Compare the resulting FOV or the 35mm-equivalent instead.
How to Calculate Scene Coverage at Any Distance
FOV in degrees tells you nothing useful until you convert it into feet or meters at your actual mounting distance. That conversion uses a second formula: W = 2 · D · tan(θ/2), where D is distance from the camera to the subject plane and θ is the FOV angle you calculated in the previous step. This is the exact approach a camera field of view calculator applies when it projects scene coverage from sensor and focal length inputs.
Here's the full sequence, worked through:
- Get sensor dimension (s) and focal length (f) in matching units, usually millimeters.
- Calculate FOV angle: θ = 2 · arctan(s / 2f).
- Pick your working distance (D), the distance from lens to the plane you want covered.
- Calculate linear coverage: W = 2 · D · tan(θ/2).
- Repeat separately for horizontal and vertical sensor dimensions if you need both coverage width and height.
The table below shows how this plays out across a few common sensor and lens combinations, using a working distance of 10 meters.
Notice how a 4mm lens on a tiny CCTV sensor produces roughly the same horizontal spread as a 24mm lens on full-frame. Sensor size and focal length are always a package deal, which is precisely why Nikonians' FOV reference tables exist: matching a quoted focal length to real angular coverage requires knowing the sensor behind it.
Where the Standard FOV Model Breaks Down
The arctangent formula assumes rectilinear projection and a fixed focus distance, and both assumptions have limits worth knowing before you trust a spec sheet blindly.
Fisheye lenses and some extreme ultra-wides use non-rectilinear projections where straight lines bow outward. Manufacturer-quoted angles for these lenses don't follow the standard formula, so use the manufacturer's own stated angle or projection equation rather than running your own arctan calculation.
Focus breathing is the other trap. Many lenses shift their effective focal length slightly as you rack focus closer, which can change effective FOV by a nontrivial percentage compared to the infinity-focus figure printed on the spec sheet. At close working distances, parallax error also grows, and video-mode sensor crops can quietly shrink your effective sensor dimensions. When precision matters, verify FOV in the field at your actual working distance rather than trusting the datasheet number alone.
Getting Camera Placement Right: Identification Zones and Mounting Height
Calculating field of view is the easy part. Translating that angle into a placement decision that actually catches a usable face on camera is where most installations go wrong.
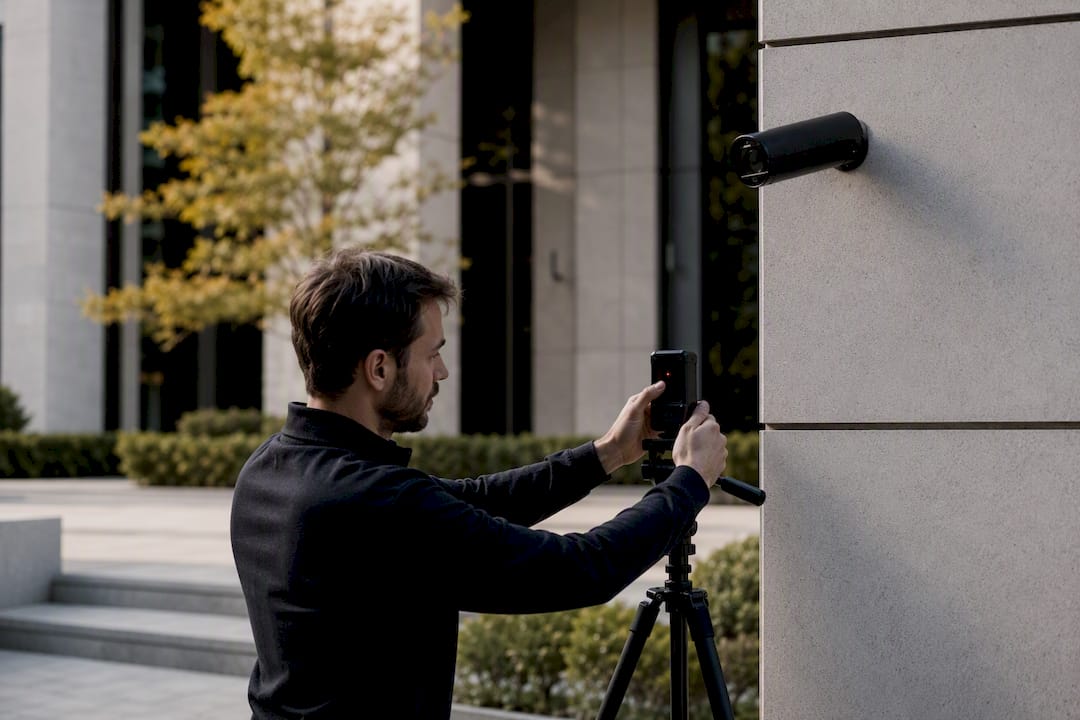
The identification zone is the distance range within which a subject's face occupies enough pixels for reliable identification, not just detection. This is why linear width at distance, not the advertised degree count, is the metric that should drive your lens selection. A camera with a wider FOV covers more ground but spreads fewer pixels across each face in the frame; a narrower FOV concentrates resolution on a smaller area for better identification detail. CCTV placement guidance generally recommends installers pick the FOV based on the task, identification versus general awareness, rather than defaulting to whichever lens covers the widest area.
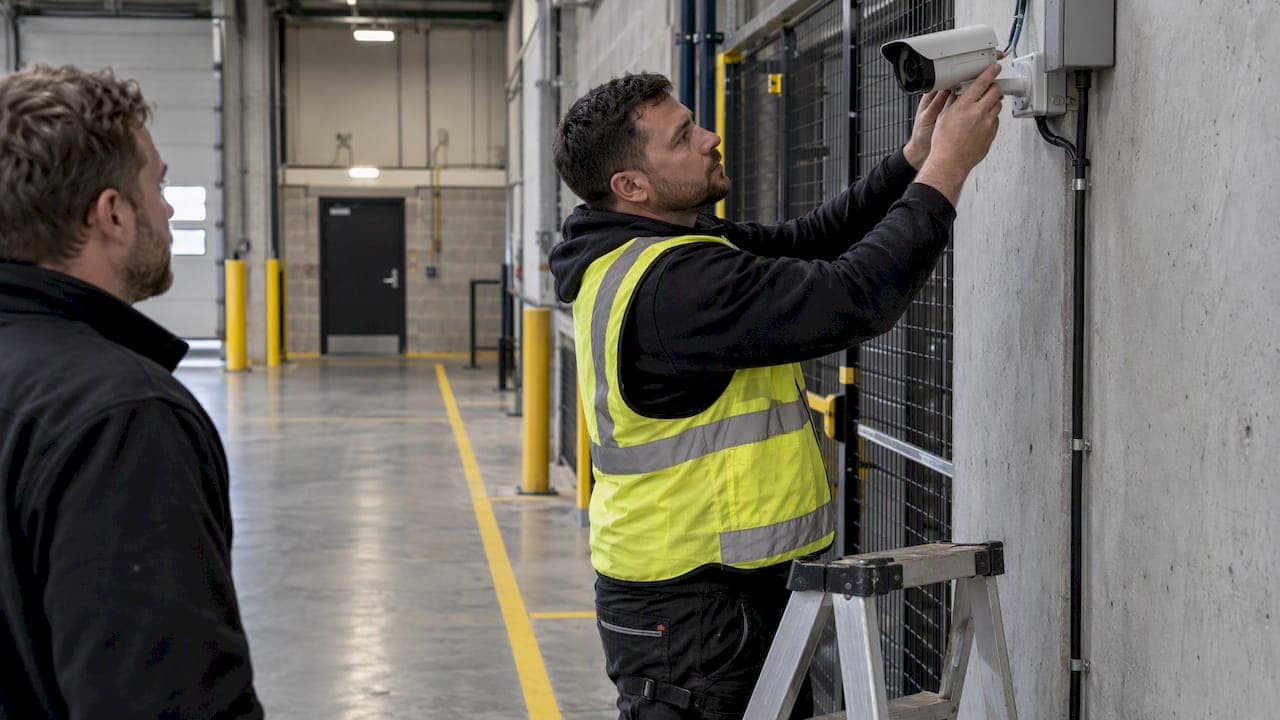
Mounting height compounds this trade-off. For indoor entry points, a camera mounted too high, chasing tamper resistance, often loses the vertical angle needed to capture a clear facial profile, since the subject is now viewed mostly from above. A more moderate mounting height above easy reach but not too high for identification angles at doorways tends to preserve identification-grade angles while still sitting out of easy reach.
Common mistakes worth avoiding on-site:
- Choosing the widest available lens by default instead of calculating coverage against the actual identification distance needed.
- Mounting cameras too high for the FOV chosen, which sacrifices facial angle for a marginal gain in tamper resistance.
- Ignoring focus breathing and mode-dependent sensor crops when the deployment distance is fixed and precise.
- Skipping an on-site verification pass and trusting spec-sheet FOV numbers as installed reality.
Pro Tip: Mount a test camera at the exact planned height and distance, capture a still of a person standing in the identification zone, and count the pixels across their face before finalizing the lens order. It takes twenty minutes and it catches errors that no amount of formula work will.
Calculators and Tools for Field of View Planning
Running these formulas by hand works fine for a single lens check, but a multi-camera deployment plan benefits from a calculator that takes sensor width, sensor height, and focal length as inputs and returns horizontal, vertical, and diagonal FOV alongside coverage width at your chosen distance.
- Feed in sensor dimensions in millimeters and focal length in the same unit; mismatched units are the most common input error.
- Add a tolerance margin, typically 10 to 15 percent, to account for focus breathing and lens manufacturing variance.
- Cross-check calculated coverage against a physical test shot at working distance before locking in a lens order.
- Try the CCTV Lens Focal Length Calculator from Beyondsensor, built specifically for matching lens focal length and sensor size to a required scene coverage width in surveillance deployments.
What Twenty Site Surveys Taught Me About Trusting the Math
The formulas in this article are exact. Deployments rarely are. Every FOV calculation assumes a flat, unobstructed subject plane at a known distance, and real entry points have doorframes, uneven floors, and subjects who don't walk in a straight line toward the lens.
Run the numbers first. Always. But treat the calculated coverage width as a starting point for a field test, not a final answer. Mount the camera, capture a still at the actual working distance, and measure face size in pixels before signing off on a lens choice, particularly for identification-zone work where a few degrees of vertical FOV can mean the difference between a usable frame and a wasted one.
The gap between advertised FOV and installed FOV is usually small. It's also exactly the gap that gets flagged in an incident review six months later.
— Eumir
Sources
- Field of view — Wikipedia
- Devutl
- FOV Tables: Field-of-view of lenses by focal length — Nikonians
- Field of view — OpenMV documentation
Recommended
Read More Articles
RTSP Security Risks: Integrators Must Block Exposed Ports 554 and 8554
See how integrators can reduce RTSP security risks: close exposed ports 554 and 8554, secure camera access, and verify each deployment with practical checks.
Require MAEpp and X Accuracy Before You Buy People Counting Systems
Verify people counting accuracy by demanding MAEpp, X Accuracy, and directional-bias reports. Validate on-site with at least 100 events per direction...
30–90 Day Pilot Validates Redundant Camera Networks for Engineers
Standards led, practical steps for engineers to deploy redundant camera networks: MRP, dual homing, and aggregation patterns, commissioning checks, and...
30 Day Pilot Proves Video Analytics Accuracy for Security Teams
Validate video analytics accuracy with scenario tests, camera tuning, transfer learning and a 30 day edge first pilot for security teams.
Let's Build YourSecurity Ecosystem.
Whether you're a System Integrator, Solution Provider, or an End-User looking for trusted advisory, our team is ready to help you navigate the BeyondSensor landscape.
Direct Advisory
Connect with our regional experts for tailored solutioning.